AEM Sites Personalization MCP Use-case Overview
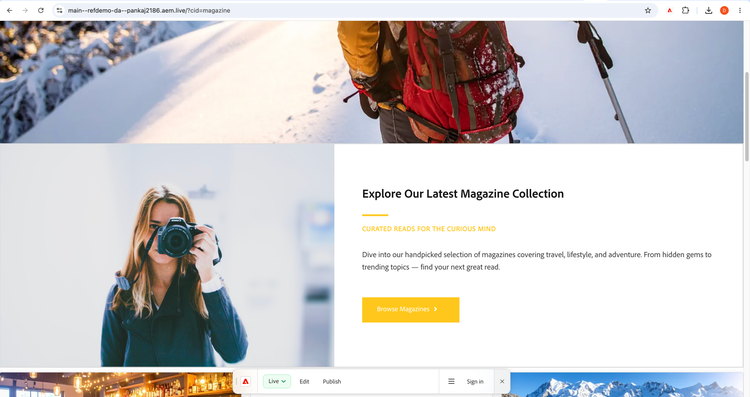
A web page shows some promotional content. By default, it renders a default author-selected content.
At runtime, Adobe Target swaps it for a personalized Content Fragment based on the visitor audience, e.g.:
- Magazine Lovers → magazine-themed offer
- Adventure Lovers → adventure-themed offer
- Everyone else → the default Content Fragment
Audience can be defined as per the business use-case.
Some simple examples: You can use previously visited page URL containing certain keyword 'magazine' or 'adventure', current page url params have some campaign id like “?campaign=NewYear”, etc.
Prerequisites
- AEM as a Cloud Service (Author + Publish) with the EDS site connected.
- Adobe Target access in any Adobe IMS organization.
- AEM ⇄ Target IMS integration configured
- “Promotion” block in AEM Sites (available in release v2.8.0 or higher)
- Optional for EDS DA – Configure “Promotion” block page and add it to the relevant page on which targeting needs to be implemented.
- MCP Server Installation in Co-worker
Setup
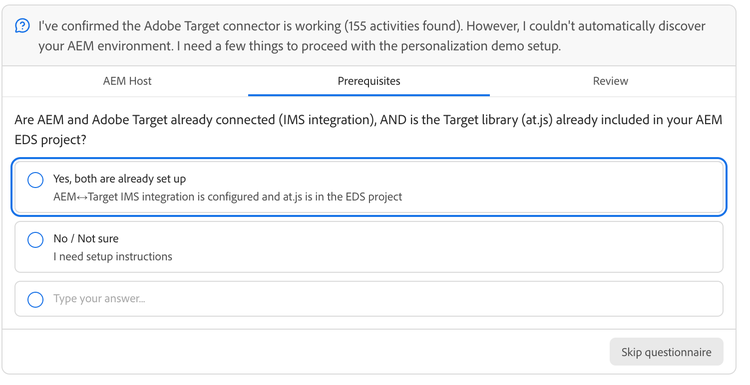
Let’s set up the flow in your own environment. We need three things:
Step 1 — Connect AEM and Adobe Target
- Establish the AEM ⇄ Target IMS based integration so AEM can export Content Fragments to Target (IMS based integration instructions here).
- Next, Go to your Adobe Target instance.
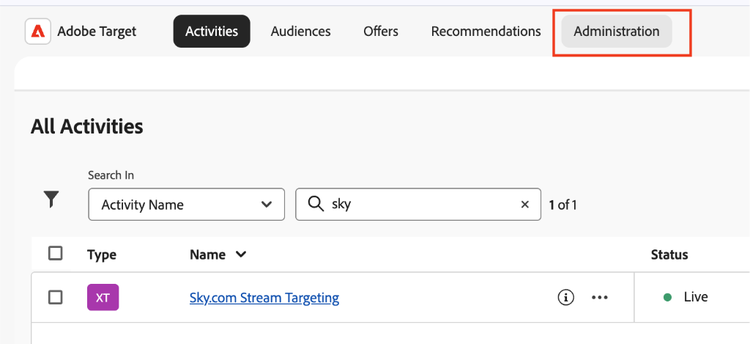
- Click on Administration tab.
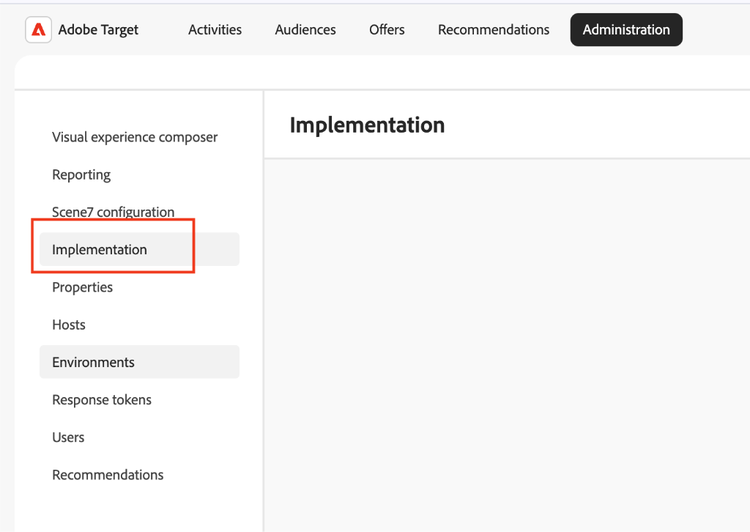
- Go to Implementation section.
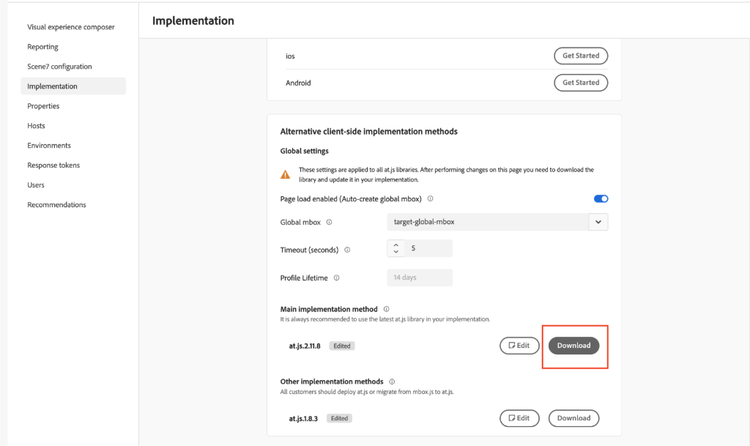
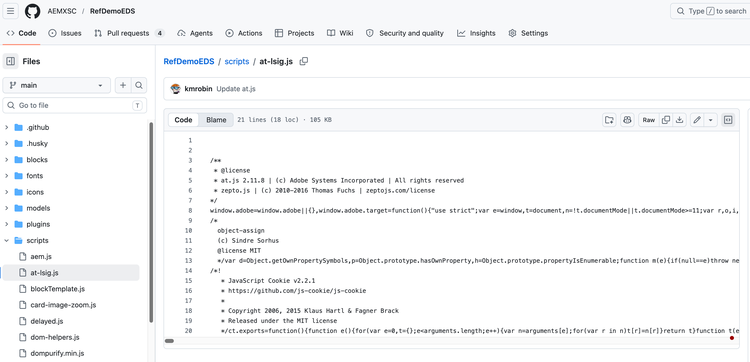
- Look for latest at.js and download it.
- Go to your EDS project’s github repository and replace the content of following file with your “at.js”:
/scripts/at-lsig.js
Step 2 — Setup MCP servers in Co-worker
There are a certain pre-requisite MCP servers that need to be installed before we can start using co-worker to execute this usecase
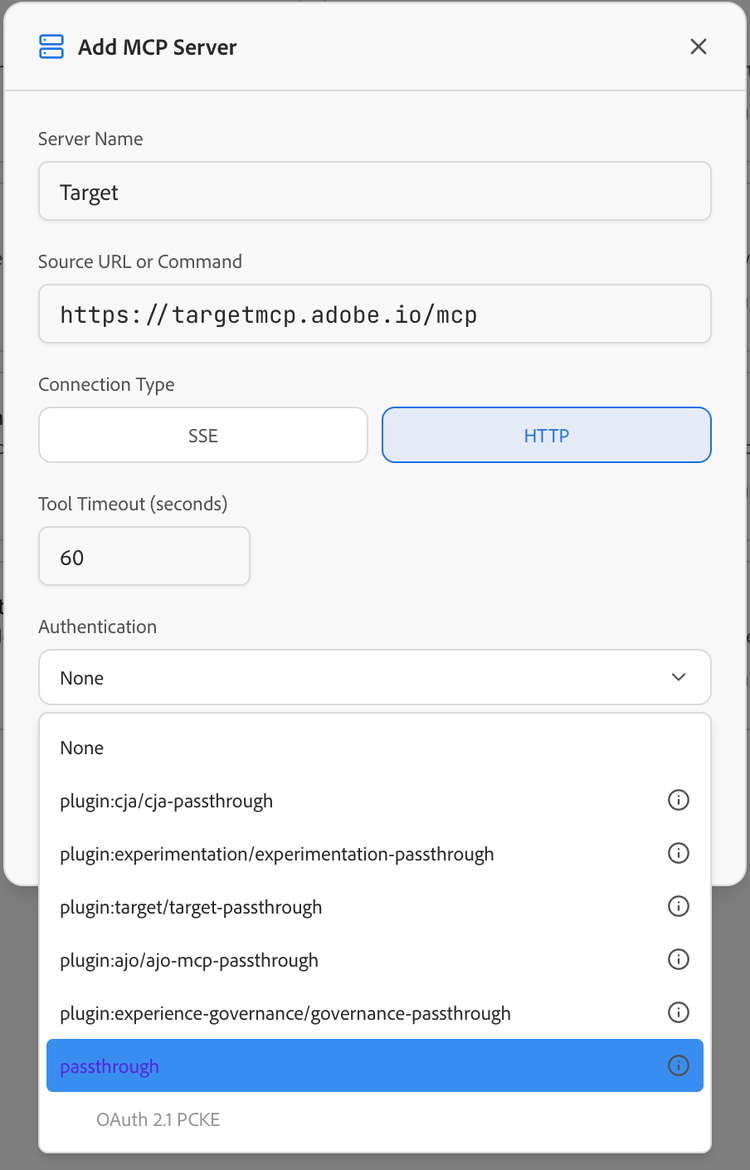
- Target MCP Server
- Source - https://targetmcp.adobe.io/mcp
- Connection Type – Http
- Authentication – Passthrough
- AEM Content MCP Server
- Source - https://mcp.adobeaemcloud.com/adobe/mcp/content
- Connection Type – Http
- Authentication – Passthrough
- Reference Demo MCP
- Source - https://3635370-rdmcp-stage.adobeioruntime.net/api/v1/web/rd-mcp/mcp-server
- Connection Type – Http
- Authentication – Passthrough
Step 3 — Install Reference Demo Plugin from Marketplace
- Go to Marketplace
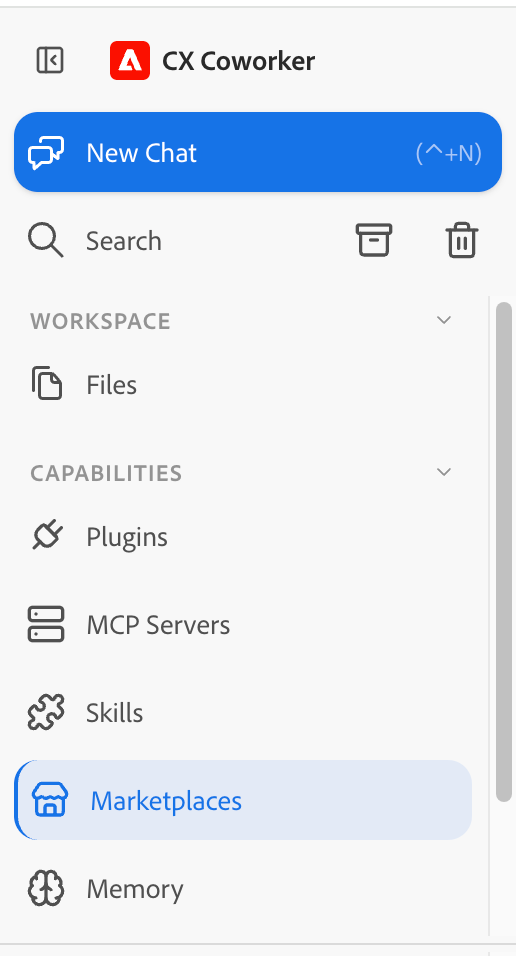
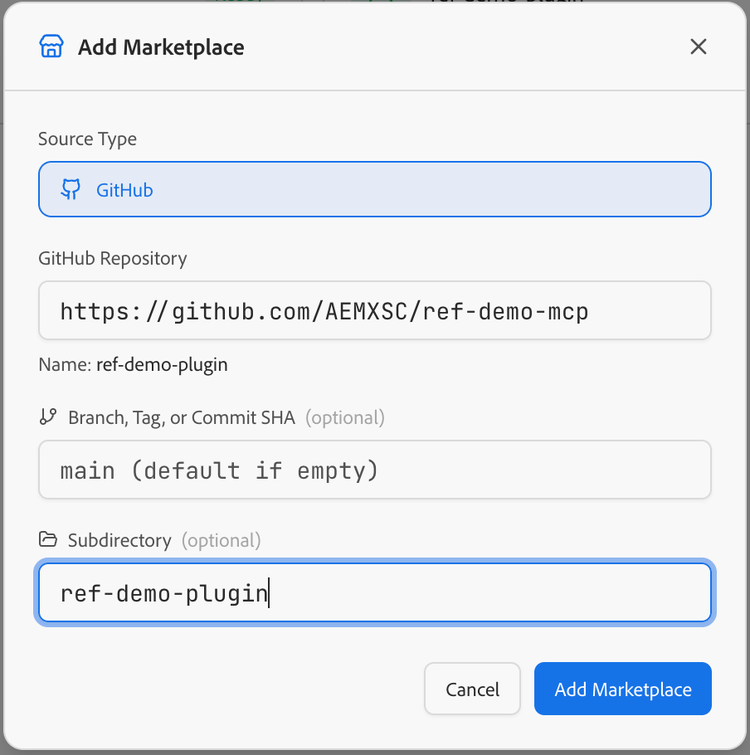
- Click on Add Marketplace at the top right
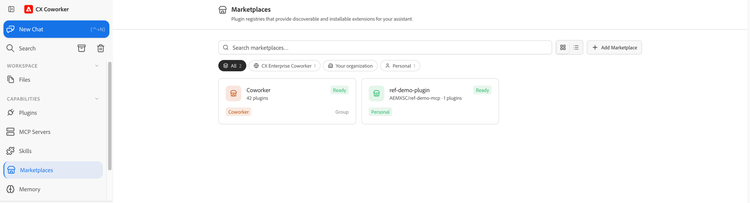
- Enter the following values in the popup:
- GitHub Repository - https://github.com/AEMXSC/ref-demo-mcp
- Branch, Tag, or Commit SHA – keep empty
- Subdirectory - ref-demo-plugin
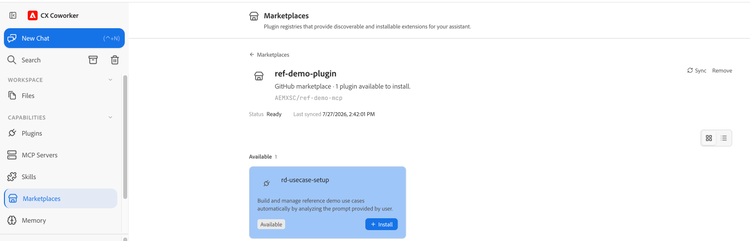
- Installing rd-usecase-setup:
- Select Install on the rd-usecase-setup and wait for the installation to complete
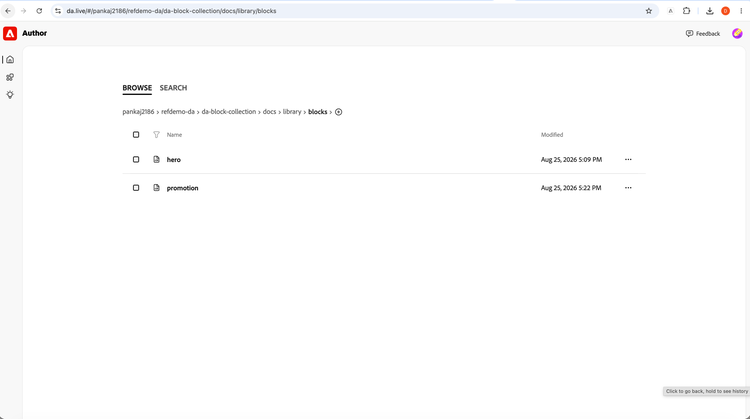
DA configurations (Optional)
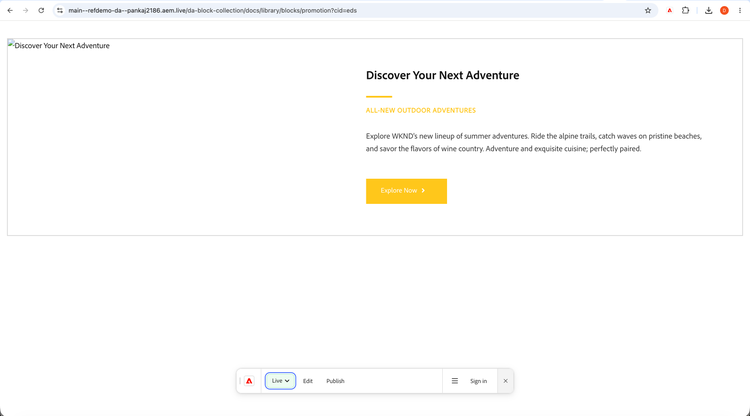
- Open da.live and go to da-block-collection --> docs --> library --> blocks
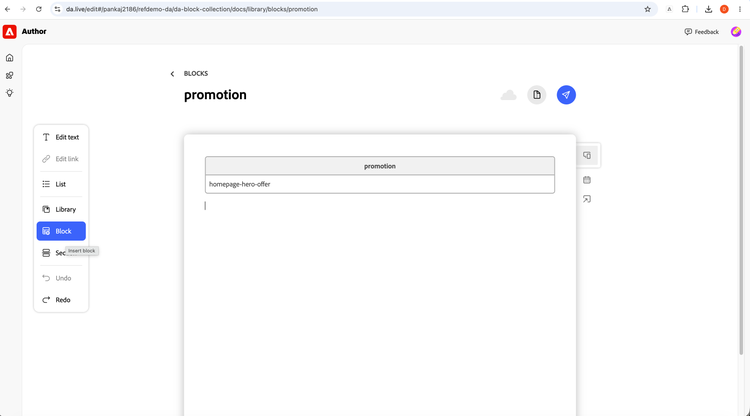
- Create/Open promotion page and add the promotion block
- Click on Preview/Publish
- Execute the target rule to view the changed content. For example: check the URL param in this snapshot:
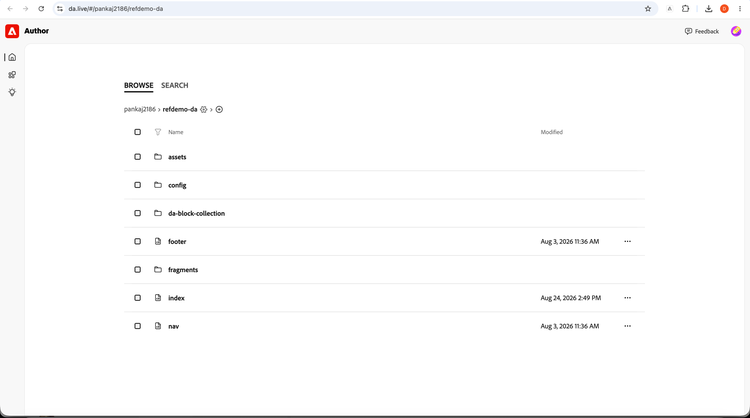
- Open the relevant page and add the promotion block wherever required. For example: index page in our case
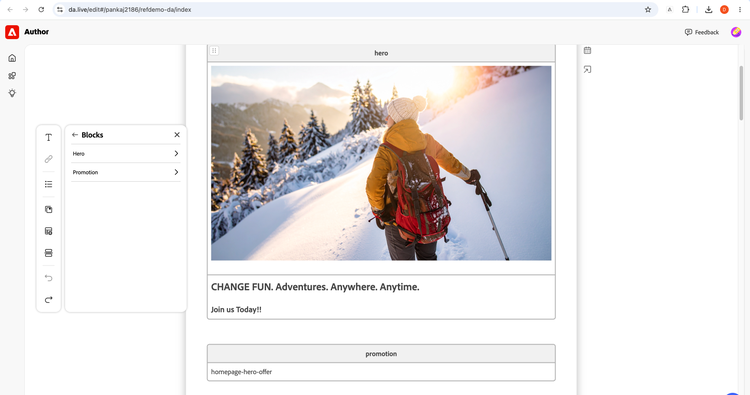
- Create a new row in the promotion block and add the following text: “homepage-hero-offer”. Preview/Publish the page.
Step 4 — Prompting Co-worker
You are all set and now you can start prompting co-worker to create demos.
Please find some happy scenario prompts below:
- Setup Personalization demo using AEM and Adobe Target for audience who are magazine lovers by running the personalized offer on the promotions block on the home page of site WKND-universal.
- Setup Personalization demo using AEM and Adobe Target for audience who are interested in adventure by running the personalized offer on the promotions block on the home page of site WKND-universal.
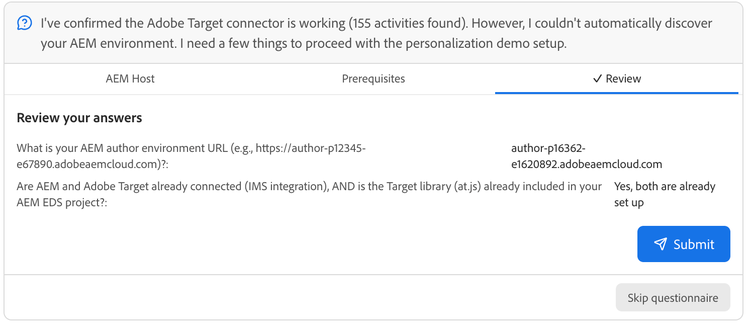
Some questions that co-worker might ask you:
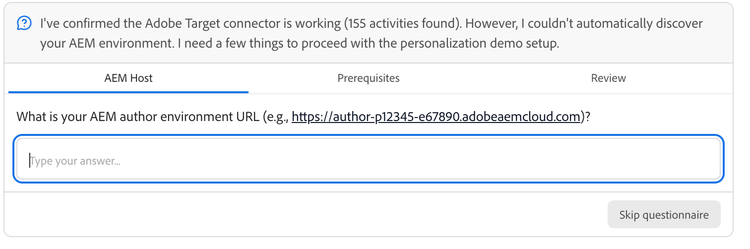
The Demo
- Default: open the page with no qualifying audience; confirm the default CF renders.
- Magazine Lovers: navigate to a 'magazine' section page and return to the home page (by clicking the brand logo)
- Adventure Lovers: repeat with 'adventure' to view the personalized experience.
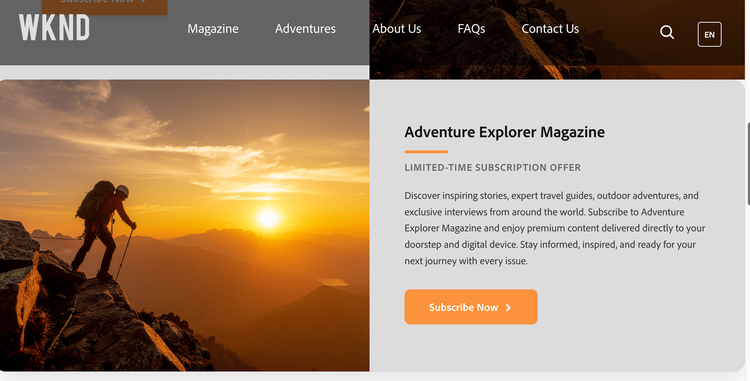
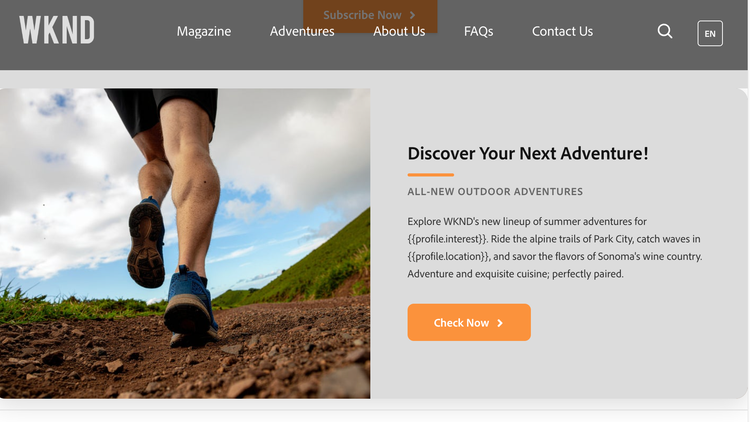
- (Optional for DA) Same target offer will be visible on the DA site. For example, check by adding URL param cid=magazine: